
Editor’s note: This is the third in a series of outdoor skills posts. Last month we looked at learning about fishing; before that, we covered getting started with hunting. This month, also about hunting, but we are taking a closer look at using a bow.
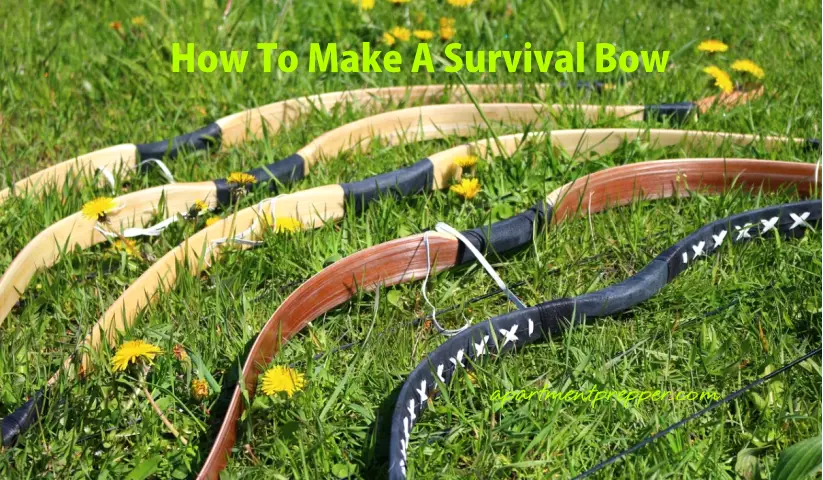
How To Make A Survival Bow
by Kevin Steffey
Disaster preparedness is a very, very broad subject. In all honesty it’s incredibly difficult for most folks to collect all the supplies they’d need to be truly prepared in the event some sort of widespread disaster happens. This is because, with the inability to predict exactly what sort of disaster might occur, we would have to create an absolutely massive collection of supplies so that we could be ready for anything.
One important step you can take in the likely scenario that this level of preparedness just isn’t feasible for you is to learn a variety of survival skills. These skills will serve you well when you find yourself at Mother Nature’s mercy with a minimum of supplies.
You’ll almost certainly need a way to protect yourself and help to catch food that will fuel you through the hard days ahead. A great skill is the knowledge of how to make a survival bow—really all you need are nearby trees, some twine or cordage, and a good sharp knife. Of course if you want to make a bow quiver or bow sight then your project will take a bit longer but the basics are easy enough to master.
If this sounds like a something you may need later on, read on for a simplified guide to creating your very own survival bow. We’ll go through the basics step by step, and you can always check out the included links and videos for more in-depth info if you like.
Choosing Material
Survival bows are also sometimes referred to as quickie bows. This is because, given the proper amount of time, you would make a bow out of cured wood. If you use a sapling or fresh wood to make your bow, as it dries out over time the process may cause the bow to lose structural integrity and break. There are wayy to prevent this that we’ll talk about later, but in a survival situation you ought to be worried about the next 24 hours not the next several months. A quickie bow will get you there.
If you can, look for wood that is dead and dry without being rotten. This is a shortcut to the curing process and this wood will typically last you longer than a sapling. When choosing materials its not just the age of the wood that matters, but the type. Most hardwoods will work, with popular choices being Elderwood, Ash, and Willow.
The idea is to choose a length of wood that will create a bow strong enough to provide good tension when the string is pulled, but not so hard that it will splinter under the pressure–the perfect balance of flexibility and resistance.
Forming A Stave
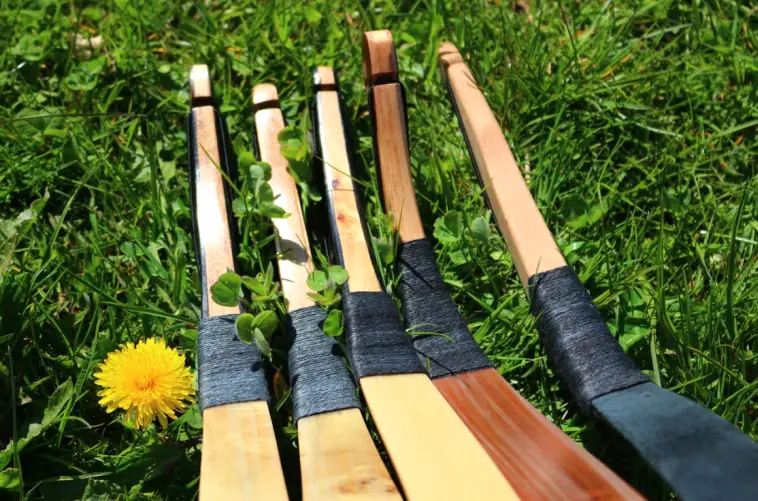
Once you’ve selected a length of wood that will work for your project, you need to transform it into a bow stave. A stave is the name for the roughly-hewn wood you’ll later shape and tiller into a good bow.
The length of your stave can vary–a good rule of thumb is to hold it up next to your body. If it come just slightly (an inch or two) above the shoulder then this will be a good length for you to handle once it’s bent into shape.
Stand the stave up, placing one end on the ground and the other end in the palm of your hand. Gently exert pressure, and you’ll notice the stave swivel slightly, showing you its natural inclination for a curve. The outer edge of the curve is called the back, and the inner edge of the curve is referred to as the belly.
Once you have identified the back and belly, you can narrow the ends of the bow and begin to notch out the belly so that shaping will be easier. For a great shortcut to notching, check out this video.
Shaping
At this point you ought to have a stave that is cleaned of bark, narrowed at either end to indicate the bow string attachments, but is still very rudimentary in shape. This next step is what elevates the stave into a usable bow.
You do this by removing wood–a little at a time!–from the belly of the bow to enable it to be draw back once the string is attached. This process gives it added flexibility so that you can fire arrows with a reasonable amount of power.
It should be noted the you never ever (ever) strip wood from the back of the bow. This can weaken it, causing it to splinter when drawn which may cause injury.
The middle (where you will rest your arrow and hold the bow) should also be left largely untouched. Only remove enough wood here to create a stable handhold, but ensure it stays thicker than the rest of the bow belly. After this you can attach the bowstring using a simple slip knot.
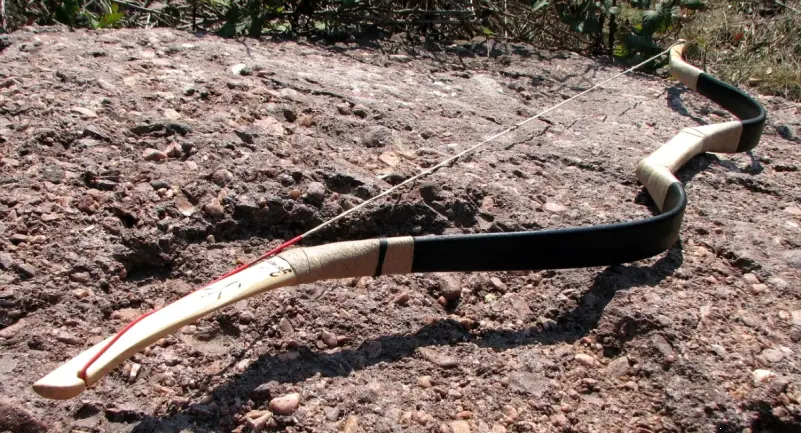
Tillering
Now that you’ve gone from raw wood, to stave, to a recognizable bow, it is time for the tillering process. Tillering is, essentially, tweaking how much wood you’ve removed from the belly of the bow so that the “arms” on either end of the handhold bend evenly when the bow is drawn.
This process is not complicated, but it does take patience and is vital to a properly functioning bow. To begin tillering, place your bow on a sturdy tree limb, resting on the middle of the handhold. Grab the bow string, and pull downward slightly.
Note the bend in the bow on either side of the handhold. If one side isn’t bending as much as the other, look for the point of resistance in the curve and notch out a bit more wood from that section of the belly.
Repeat this process, pulling the string more and more each time, until you can pull it to your draw length and maintain an even bend in the bow.
Finishing Touches
Pat yourself on the back, you’ve made a simple survival bow that will help protect and feed you in a disaster scenario. If you’re feeling really ambitious you can always improve on the basic model–oiling the bow will help it last long, particularly if you used young, undried wood in the construction. Oiling will prevent it from cracking and breaking as it dried.
Never dry fire your bow, as that will also cause it to break. If you find even more extra time on your hands, you can make the bow a little less rough around the edges and really master the craft of the bowyer. Take a look at this video of survival bows made in Costa Rica to get a feel for how excellent these can become if made with care.
Author Bio:

Kevin Steffey is an avid hunter and freelance writer. He loves spending time in the field with his rifle more than almost anything else, and occupies his off-time discussing deer and their habits online. He is a founder at www.deerhuntingfield.com