Written by Bernie Carr
A few weeks ago, I wrote about returning a defective set of Berkey filters and getting a replacement from the warranty. After I received the new set, I set up my new set of Berkey water filter elements. When you set up either a new or replace your water filter, the first thing you need to do is prime the water filter.
What is priming?
If you have a brand new Berkey water filter, or are replacing a set of filters with a new one, you need to prime the filters. Priming is needed to make sure the filters will work correctly and ensures contaminants will be removed from your water.
Priming is the necessary step needed before you start to use it. It involves running water through the filters to saturate them thoroughly.
If you don’t prime the filters, they will not work properly. The flow rate will be super slow, and may only filter a small amount of water even after leaving it overnight. Priming also removes any impurities such as dust particles resulting from the manufacturing process.
How to prime the Berkey water filter
It’s a really quick but essential process. The priming method I am using is the priming button that comes with each set of Berkey filters. This is not the only way to prime a Berkey filter, but it is the one I tried. Another way is to buy the Berkey priming pump, available separately.
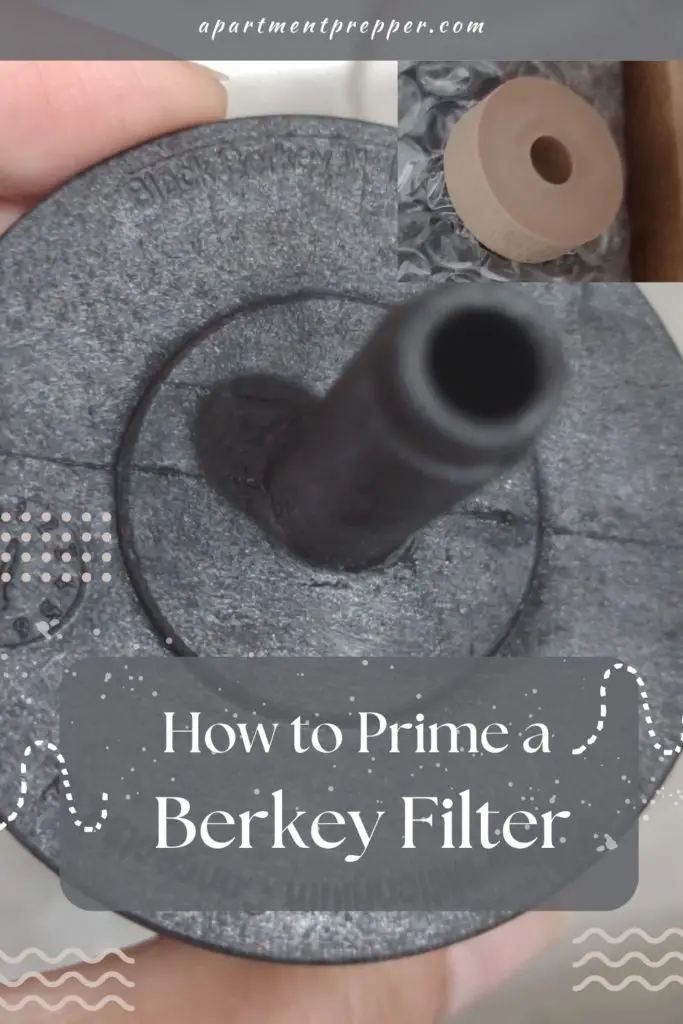
Open the Berkey water filter box and find the tan priming button that comes with the filters.
Locate a faucet in your home that does not have a sprayer. Trust me, a faucet with a sprayer will not work for priming. That’s because the sprayer prevents a direct flow of water from the faucet to the Berkey filter. The kitchen sink where I live has a sprayer that is not easily removable, and the bathroom faucets are too small to fit the filter. I used an outside faucet to prime the filters.
Place the tan priming button on the stem of the Berkey filter.
Then, position the priming button against the faucet. While holding it against the faucet, use your other hand to slowly turn on the faucet. (Note: Use only cold water from the tap.)
The goal is to force water to come out of the filter. Turning it on very low did not work for me, but rather a medium flow worked the best.
You’ll see that the filter starts to “sweat” beads of water. Run it for about 10-15 seconds.
Here’s a quick video on priming your Berkey filter.
Once you see the filter sweating beads of water, you’ll know that the Berkey filter has been primed. It is now ready to use. Using a Berkey requires a bit of maintenance; check out this article on how to maintain your filters.
If you found this article interesting or helpful, please consider helping us out (without costing you anything)! We are an affiliate of Amazon.com, which means we received a small commission if you click through one of our Amazon links when you shop, at totally no cost to you. This helps keep the lights on at the blog. Thanks!
About the author
Bernie Carr is the founder of Apartment Prepper. She has written several books including the best-selling Prepper’s Pocket Guide, Jake and Miller’s Big Adventure, The Penny-Pinching Prepper and How to Prepare for Most Emergencies on a $50 a Month Budget. Bernie’s latest e-book, FRUGAL DIY has just been released on Amazon. Her work appears in sites such as the Allstate Blog and Clark.com, as well as print magazines such as Backwoods Survival Guide and Prepper Survival Guide. She has been featured in national publications such as Fox Business and Popular Mechanics. Learn more about Bernie here.
FB: https://www.facebook.com/apartmentprepper
Instagram: https://www.instagram.com/apartmentpreppers/
Twitter: https://twitter.com/AptPrepper
YouTube: https://www.youtube.com/channel/UC7vOtdbo-wiBeBxD6puCr1Q
Pinterest: https://www.pinterest.com/aptprepper/


