
 This post is by Bernie Carr, apartmentprepper.com
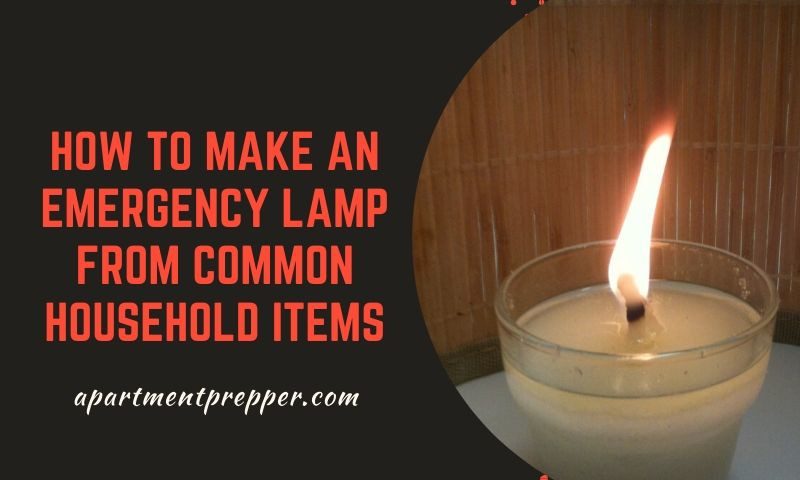
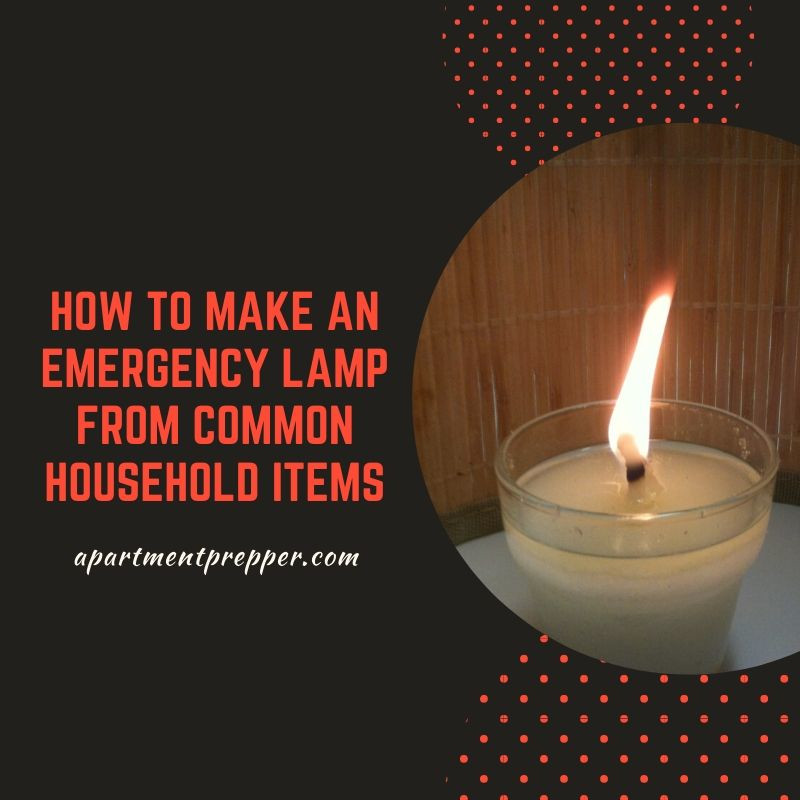
I followed instructions given in the Non Electric Lighting series, on how to make this vegetable oil lamp. What got me interested in trying this out was, all the materials are items most people have readily available at home.
Materials
 Materials:
Vegetable oil
Baby food jar or votive candle jar (I got mine from Goodwill)
Table salt
wooden toothpick
cotton (must be 100% cotton, not a blend)
nail polish remover
matches
Directions:
1. Fill the jar with table salt.
 2. Add vegetable oil and mix well with the salt. Let it settle down.
3. Add a bit more vegetable oil after it settles.
4. Wrap a wooden toothpick with the cotton from end to end. Do not skimp on cotton but don’t make it too thick either.
5. Stick the cotton wrapped toothpick in the vegetable oil/sand mixture. If it is too tall for the jar, snip the end until the tip is level with the mouth of the jar.
6. Drop a tiny amount of nail polish remover on the tip of the cotton wrapped toothpick. Take care not to spill into the vegetable oil.
7. Light the tip.
You’re done! This homemade lamp will burn for about two hours.
Trouble shooting tips
When I first made the lamp, the flame kept sputtering and burned out quickly. I contacted the author, Ron Brown to inquire about what I might be doing wrong. He suggested the following:
- The toothpick must be well wrapped with cotton
- Use only 100% cotton.
On my first attempt I had used recycled cotton from a pill bottle which may not have been 100% cotton. The next time, I made sure it was 100% cotton. I also had not wrapped the toothpick well enough and had a few gaps that weren’t covered with cotton. This time around, I wrapped the toothpick until it was completely covered with cotton, but not overly thick. Sure enough, it worked very well.
This experience showed me that even though you have instructions on how to do something, there are unforeseen variables that may hamper your success. You need to test your knowledge and practice your preparedness skills. The time to practice new skills is now — not when an emergency is in full swing and the power is already out.
(Note: Apartment Prepper is not affiliated with Lanterns Lamps and Candles – I read the book series and found it to be a great resource. My thanks to author Ron Brown for taking the time to suggest some fixes with my experiment.)
*********************************************************************************************
We are an affiliate of Amazon.com, which means we received a small commission if you click through one of our Amazon links when you shop, at totally no cost to you. This helps keep the lights on at the blog. Thanks!
Give the gift of prime:
About the author:
Bernie Carr is the founder of Apartment Prepper. She has written several books including the best-selling Prepper’s Pocket Guide, Jake and Miller’s Big Adventure, The Penny-Pinching Prepper and How to Prepare for Most Emergencies on a $50 a Month Budget. Her work appears in sites such as the Allstate Blog and Clark.com, as well as print magazines such as Backwoods Survival Guide and Prepper Survival Guide. She has been featured in national publications such as Fox Business and Popular Mechanics. Learn more about Bernie here.
Oh thanks for this. We are getting ready to move into an RV and this will come in handy when the power goes out or we are boondocking.
I’m torn on this one. It may be useful now in a pinch or as a novelty with the kids. Perhaps you’re in a unique position in a crisis scenario where the ingrediants are abundant. I feel that salt and oil will be far more important for curing or consumption. Like I said, maybe in pinch when light is critical.
Still very nice to know though. Load up on cheap tealights while you can!
Hi Archer, Sand can be used instead of salt, in case that is more plentiful. Thanks for the comment!
That’s a good substitute!
Hi Archer. The original source of info for this lamp is Book 2 in The Non-Electric Lighting Series. The title of Book 2 is “Olive Oil Lamps &c.” https://www.amazon.com/Book-Olive-Lamps-Non-Electric-Lighting/dp/0985333774/ref=tmm_pap_swatch_0?_encoding=UTF8&qid=1663281556&sr=1-1
On pages 39-40 it says: “Design 13 — Philippine Design. Fill an empty and DRY baby food jar 2/3 full of sand. DRY sand. Common table salt also works. The purpose of the sand/salt is to hold the wick upright . . .”
In an emergency, when a blackout has occurred and you’re miles away from home (and all your preps), it’s nice to know that a simple glass jar, some cooking oil, some salt, and a toothpick — all stuff you can find in just about anybody’s kitchen — plus a cotton ball for wick material will produce a lamp that produces light on par with a candle.
Hi ApartmentPrepper,
I wanted to call your attention to another fabulous DIY candle: the “button lamp” that Ma Ingalls makes in “The Long Winter,” one of the novels (I like to call them “novelized memoirs” because they are based in truth) by Laura Ingalls Wilder.
“The Long Winter” was the least “fictionalized” of Laura’s recollections when she began writing her life story in novel format in her 60s.
In the book the family is sheltering in Pa’s store, living in the back/upstairs, as was common in 19th century stores. The family moved to town from their claim shanty in the South Dakota prairie, in order to better their chances of winter survival.
All the kerosene is gone, there is no coal, the trains are not running, and the family is stuck with what food they have, along with what other resources they have. They have run out of light sources at the point that Ma makes the button lamp.
They get stuck from November to April in near-continuous blizzard conditions, with the deep snow and ice pack preventing trains from reaching the town (De Smet, SD townsite).
The book is awesome, my favorite in the series.
The button lamp was constructed from a little bit of fat, in a tin with a button floating in the fat. The button had a piece of cotton cloth tied around it, the corners twisted together to form a wick. The cloth slowly absorbed the oil as the tip burned, creating a long-burning source of (very, very meager) light and heat.
Hi thornfield, That button lamp sounds really creative. I should read the series, sounds like we can all pick up some good ideas. Thanks for the comment!
Hi Thornfield. The book Olive Oil Lamps &c. has 15 different vegetable-oil lamp designs (and if you count the variations, it’s more like 22 or 23). With most of the designs, when the fuel burns down you must add more fuel. But with 3 of the designs (and this is what your button lamp sounds like) the wick is suspended in a floating arrangement. As the oil burns down, the wick rides down with it (giving a constant distance from fuel to flame).
But whatever the design I strongly urge you to TRY IT and not just read about it. Note that in Bernie’s article her first try didn’t work. Whether it’s your button lamp or a design from Olive Oil Lamps &c., please try it out before you need it. When your pregnant wife says — in the middle of a blackout — “Dear, the baby’s coming . . .” Then is not the time to learn about improvising a lamp.
I would add this:
Perpetual and long runtime lighting (plan ahead):
65 hour run time flashlight. I turn it in to a 360 hour flashlight. It’s easy:
https://www.instructables.com/id/Easy-Flashlight-Mod-Increases-Run-Time-36X/?allstep
Or go DYI micro solar
https://www.instructables.com/id/Uses-For-Dead-Car-Batteries-And-Sealed-Lead-Acid-B/?allstep
Emergency Led Lighting Made Ridiculously Simple:
https://www.instructables.com/id/Emergency-Led-Lighting-Made-Ridiculously-Simple/?allstep
No batteries & no shaking or cranking:
https://www.instructables.com/id/400-Farad-Super-Capacitor-Flashlight-Build-This-/?allstep