
This post is by Bernie Carr, apartmentprepper.com
It took me a while but I finally got around to trying my hand at baking bread from scratch. It’s been a goal of mine (See Small Steps to Learning Survival Skills) for a while now, but I was a bit intimidated about trying it at first. I’ve had a few failures in the past; I even owned a bread machine at one time. Due to one of the failures, my dough overflowed into the bread machine unit and got burned. The bread machine was “toast” (pun intended) and it left quite a powerful smell that lasted for days. Since I became interested in preparedness, I really wanted to make my own bread in case we can no longer run to the store for a loaf.
I’ve experimented with a few other recipes in the past, but none of them are easier than the one I found in Survival Woman’s article “Why Bake Homemade Bread” One reason I held off trying that particular recipe was I did not have a pizza stone. Not having a lot of storage space, I did not want to acquire more items in my already crowded cupboard. Well today I finally decided “no more waiting” and I just made the bread recipe featured in the article and adapted it to the equipment I have in the kitchen right now: large mixing bowl, cookie sheet, turkey thermometer. I used the turkey thermometer to check if the water temperature was at a lukewarm 100 degrees – it worked just fine. You do not need a food processor or any other mixers.
The Master Recipe: Artisan Free Form Loaf.
The original recipe was From Artisan Bread in Five Minutes a Day: The Discovery that Revolutionizes Home Baking by Jeff Hertzberg and Zoe Francois (Thomas Dunne Books, 2007). Copyright 2007 by Jeff Hertzberg and Zoe Francois.
Note: The recipe below is not the same exact recipe from the book or from Survival Woman’s article. I changed the steps according to the materials I have in my kitchen. For an exact recipe, please refer to the original post or the book.
Makes four 1 pound loaves.
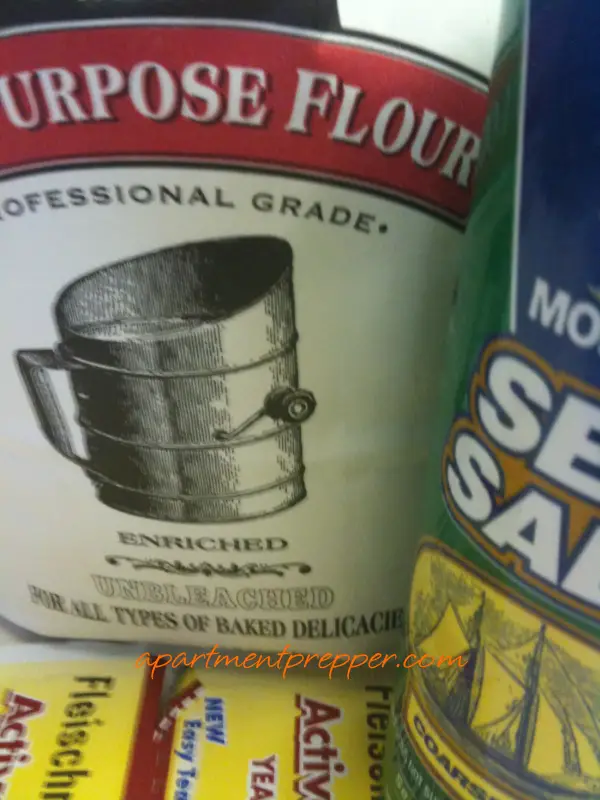
- 3 cups lukewarm water
- 1-1/2 tablespoons granulated yeast (about 1-1/2 packets)
- 1-1/2 tablespoons sea salt
- 6-1/2 cups unsifted, unbleached flour, measured with the scoop & sweep method
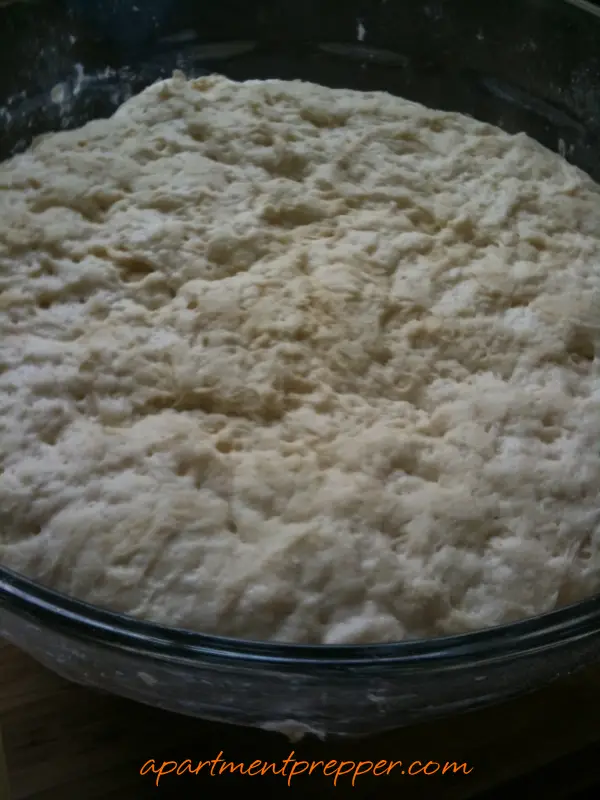
1. In a large bowl or plastic container, mix yeast and salt into 3 cups lukewarm water (about 100 degrees). Stir in flour, mixing until there are no dry patches. Dough will be quite loose. Cover, but not with an airtight lid. Let dough rise at room temperature 2 hours (or up to 5 hours).
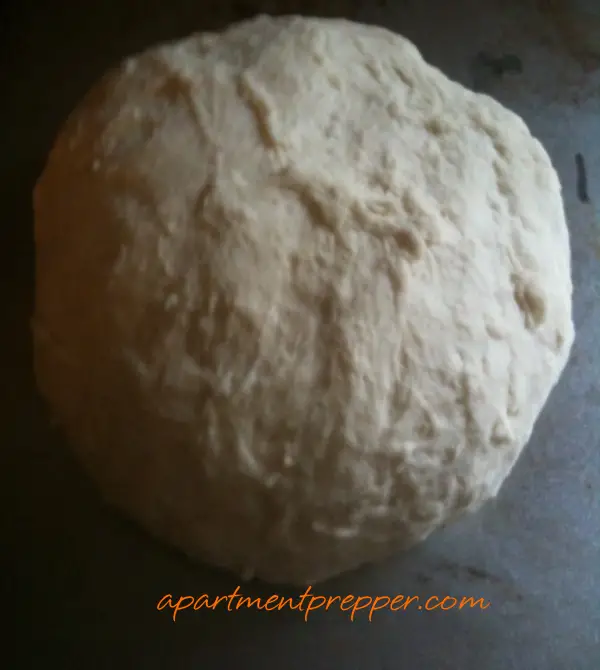
2. Bake at this point or refrigerate, covered, for as long as two weeks. When ready to bake, sprinkle a little flour on dough and cut off a grapefruit-size piece with serrated knife. Turn dough in hands to lightly stretch surface, creating a rounded top and a lumpy bottom. I set the grapefruit sized dough that I was about to cook on a baking sheet and let it rest for 40 minutes. Repeat with remaining dough or refrigerate it.
4. Dust dough with flour, slash top with serrated or very sharp knife three times. I placed the baking sheet with the dough into a preheated 450 degree oven. I placed a broiler pan with 1 cup water in the oven, in the bottom rack, then shut the oven quickly to trap steam. I checked after 15 minutes and the water had evaporated so I added another cup of water. Keep baking until well browned, about 30 minutes. Cool completely.
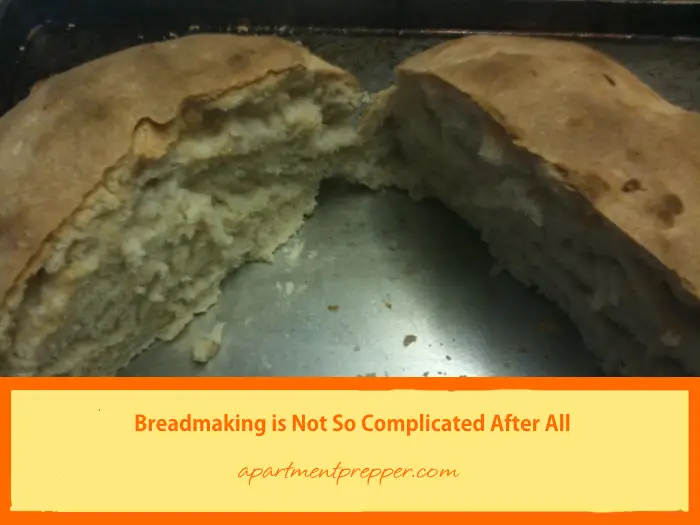
After 30 minutes, I went and checked the bread and found it looked done. The top appeared crusty but when I sliced with a serrated knife, it cut through pretty well and the bread was soft inside.
Now for the moment of truth: the taste test. I sliced a piece and tasted it… it was good! This bread is not sweet, it has a hint of salt in it and therefore good on its own. Warm and straight out of the oven, this bread tasted like those fancy breads you get at a nice restaurant. It was even better with butter. I let the rest of family try it just to make sure. They liked it too!
Best of all, I should be able to make a fresh loaf three more times this week. The recipe indicates you can store the dough in the refrigerator. I’ll let you know how the subsequent loaves turn out. Next time I go to the store I am going to stock up on yeast and unbleached flour.
If you have any interest at all in making your own bread, don’t hold off trying it. It’s actually a lot easier than it sounds.
An update was posted about making artisan breads here.
For more preparedness tips, read my book: 
Buy the yeast in a one or two pound package from Costco, Sams, Smart & Final or any of those types of stores. It will cost the same as a couple of packets from the grocery store.
Now that you have the basic recipe you can start to experiment. Add anything you want. Just remember if you add a liquid even it out with more flour. Add seasonings, garlic, sugar and egg, chocolate chips (the grandkids do this, not I), cheese, raisins and cinnamon sugar, anything! If you brush the top of the loaf with egg you’ll get a crispy crust. Have fun.
Hi Whatifitstoday, Thanks for letting me about the bulk yeast, I did notice the yeast at the market is not cheap. I can’t wait to experiment with adding other stuff!
About what size loaf did you get after using grapefruit sized dough? About the same size, or did it rise? Thanks
Hi TacSKS, When you let the grapefruit dough “rest” for 40 minutes, it flattens out some and rises just a bit more. When you bake it, then it puffs up a little more. The one I made turns out to be a round loaf about 8 inches across.
When I started making a lot of homemade bread, I started with an artisan loaf, too. Ultimately, however, I found it just to heavy when made with whole wheat flour. Also, subsequent loaves seemed kind of sourdough tasting to me, which is not my fave.
I do recommend trying this recipe for sandwich bread if you feel like experimenting more. I’ve made it quite a few times, and it never seems to fail (as long as you don’t let it rise too long!). It’s extremely simple, and I can whip up a loaf with a toddler and infant tugging on my pants. (And I’m no expert in the kitchen!) I find the texture and density preferable to the artisan breads, although I do like the artisan ones for heavier things like as a side with bean soup.
https://bakingbites.com/2011/02/no-knead-whole-wheat-honey-sandwich-bread/
Hi Bitsy, Yes, the artisan bread does lean toward the sourdough taste, and is more of a side with a soup or a casserole. I did get asked by the kids if I am going to make real “sandwich” bread, the type they can make P B & J sandwiches with. So that’ll be my next bread project. Thanks for the link!
With the artisan bread there is very little kneeding. If you kneed it it will become lighter and more like the store types of bread.
Whatifitstoday, I was really surprised, there was very little kneading involved to get the dough to feel “right” So if I wanted to get it to be more like store bread (the kids were asking if I was going to make “real sandwich bread” all I have to do is knead it more to make it lighter–I did not know this! Thanks for mentioning this.
That stuff looks GREAT!
It looks like the kind of stuff you just want to tear fresh warm hunks off of and chow down.
I think you’ve inspired me to throw on an apron and brush up on some dormant (but not non-existant) baking skills!
Thanks Bernie.
Hey Dan, Thanks, it is the kind of bread you will want to chow down on as soon as it’s done. Have a pot of soup ready, it’ll be perfect. As you are kneading the dough, the way to tell it is getting there is, the dough does not feel sticky as when you first mix it. When you tear off the grapefruit sized chunk and you mix flour to it, you can tell the dough feels more elastic and not sticky. Good luck and I look forward to seeing your results!
Just a quick note on the storage of flour. Again with it, I vacuum pack it with a vacuum sealer, right in the original bag. Most important though, you must put it in the freezer for a day or two afterwards. This will kill any organisms (eggs) that are in the flour. Even the best brands have them from time to time This method should also be used for other types of flour (Whole Wheat, Buck Wheat), Pancake mixes, and Corn Meal. It’s a better safe than sorry thing, and all it takes is a bit more time.
Hi John in Iowa, Sure would not want those bugs hatching in the stored flour. Thanks for the reminder. That would be the easiest way to store it, right in the original bag with a vacuum sealer. I stored ours in the mylar bags with the oxygen absorber, but the vacuum sealer would be more efficient.
The only trouble with fresh bread is that it’s so darned easy to eat… 😛
On the bright side, the smell (and later, the taste) of homemade bread makes even a simple supper quite wonderful. A pot of soup, a casserole, leftover chili all taste so different with slices of fresh bread.
I’ve gone quite happily mad with making yogurt at home, in the slow cooker (although you can use other methods to keep it warm). Never liked the stuff much before, but fresh yogurt is so good I can’t stop eating it. I drain mine through a flour-sack towel (dollar store) in a colander and it becomes a thicker, milder product similar to Greek yogurt. With a bit of fruit or homemade jam it’s as good as ice cream — and much better for me.
Hey Donna, Fresh baked bread does make the cheap meals feel special! Been having casseroles and spaghetti with it and they seem better somehow. Mmmm Homemade yogurt, this sounds good — my next project!!
So glad too hear you tried the artisan bread. Before I had the pizza stone, I used parchment paper on a regular cookie sheet. In some ways that is easier – you simply pick the paper up, dough and all, and place it on the cookie sheet in the over.
As others have mentioned, the problem with the bread is that it tastes TOO good and the waistline and hips suffer. Be sure to try the foccacia which is to die for!
Gaye