
This post is by Bernie Carr, apartmentprepper.com
A few weeks ago, I wanted to make cookies and muffins so I bought a bottle of vanilla at the grocery store. I was shocked that a one-ounce bottle costed close to $5! I ended up buying one since I needed it right away but it has already run out.
Why is vanilla so expensive?
Several factors have contributed to the increased vanilla prices. For one thing, there are only a few areas that grow vanilla such as Mexico, Tahiti, Hawaii, Indonesia and Madagascar. The largest growers are in Madagascar which had a huge cyclone a few years ago, causing a vanilla shortage. The vanilla orchid, which is the source of vanilla pods or beans is a slow growing plant. It takes two to four years for the plant to fully develop, and the flowers only bloom for one day of the year. There is also a huge demand for real vanilla from large corporations that use it to flavor cereals, baked goods.
So now that we know why it’s expensive, we need to come up with a way to save some money.
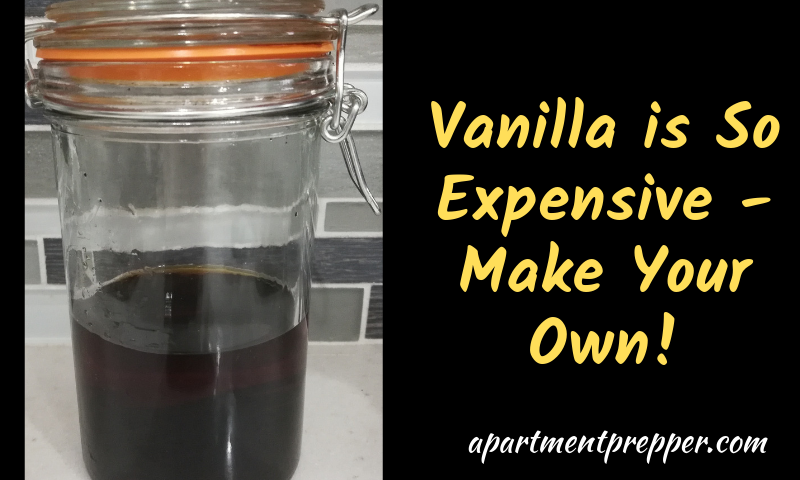
Let’s make our own vanilla
This is an ideal project for an apartment dweller: it requires no special equipment and does not take up a lot of room. And, it will save money in the long run.
Ingredients:
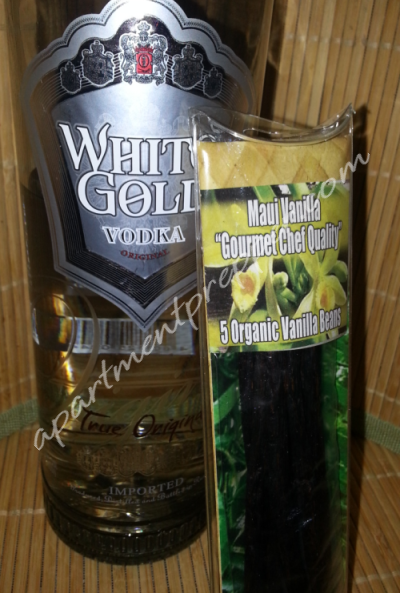
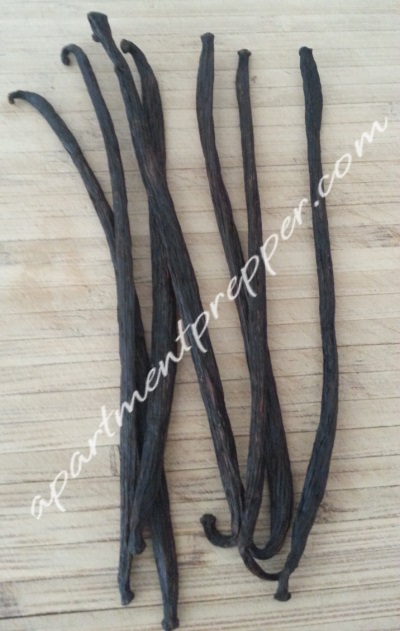
Vanilla beans – I bought vanilla beans that were grown in Hawaii that were available at the time.
Vodka – choose a decent brand; not the most expensive, but not the cheap stuff either.
Directions:
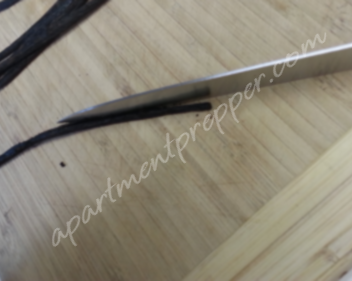
- With a sharp knife, slice the vanilla bean across the middle. The vanilla bean was surprisingly tough.
- The ratio is two vanilla beans to one cup of vodka. Because this is my first attempt, I started with one cup of vodka. Place vanilla beans in a clean glass jar, then pour the vodka.
- Leave the jar in a cool dark place. I left it in an unused corner of the cupboard.
- Shake the jar occasionally. It should be ready in about eight weeks, or longer if you want a stronger flavor. After the eight weeks is up, strain the vanilla and transfer to a pourable container. You can add more vodka and another vanilla bean to start a new batch.
Here is a photo of my vanilla jar on day 1:
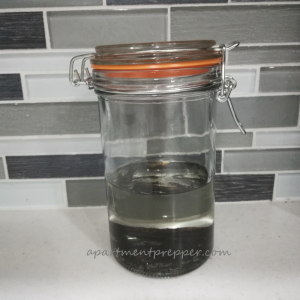
Real vanilla beans smell very fragrant, almost like perfume. After just a couple of days, the mixture was already turning a dark shade.
Here is a photo on day 30.
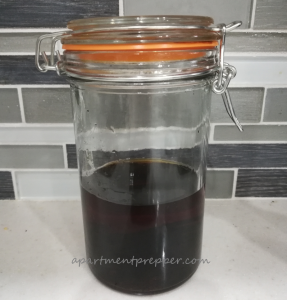
So far the mixture is starting to get more fragrant but 30 days is not enough. I will give it another two months before I start using this batch. If you start now, you can make vanilla in time for Christmas – you can use it for Christmas baking and give as gifts.
If you found value in the article, please help us keep this site free by supporting Apartment Prepper on Patreon. Click here: https://www.patreon.com/apartmentprepper No worries if you are not able to, I’ll still keep writing!
For advice on how to prep on a budget:


About the author:
Bernie Carr is the founder of Apartment Prepper. She has written several books including the best-selling Prepper’s Pocket Guide, Jake and Miller’s Big Adventure, The Penny-Pinching Prepper and How to Prepare for Most Emergencies on a $50 a Month Budget. Her work appears in sites such as the Allstate Blog and Clark.com, as well as print magazines such as Backwoods Survival Guide and Prepper Survival Guide. She has been featured in national publications such as Fox Business and Popular Mechanics. Learn more about Bernie here.
If time permits leave it alone to 6-12 months with the odd shake every 2-3 weeks, the flavors really start to develop then. I keep two batches one with regular vodka, and another with GF vodka. It makes a great gift.
Another fairly cheap thing to make is vanilla sugar. If you’re in a hurry mix one tablespoon of vanilla extract to one cup of sugar. Mix well and spread on a cookie sheet and let dry for 1-2 hours, longer if the humidity is high. Gently break apart the sugar and place in a jar. It will last for a couple of months, I use it by then though I’m sure it will last longer.
If you have time split the vanilla bean lengthwise and with a sharp knife scrape out the seeds. Place the seeds and one cup sugar in a food processor and lightly pulse. Place the sugar in a glass jar and push the vanilla pods inside. Place in a cool dark place for at least 8 weeks. Use in any recipe that calls for sugar or in hot chocolate. Put in a pretty jar with a bow and it makes a great gift
Hi Sarah, I’ll take your advise and keep 6-12 months. I like the vanilla sugar idea! Thanks for sharing, I will try that. 🙂